Dollar Tree Decoupage Ornaments
Using the mini canvas shapes, we’re going to make DIY Dollar Tree decoupage ornaments. Learn with me as we experiment with foil and make some gilded ornaments with a vintage Christmas vibe.
RELATED READING: How to Make Faux Gingerbread Cookies (That Stay Soft)!
Decoupage Christmas Ornaments
Here at Berry and Pine, I’m working through a craft stash of epic proportions. Today, I combined something old with something new and wanted to share it with you.
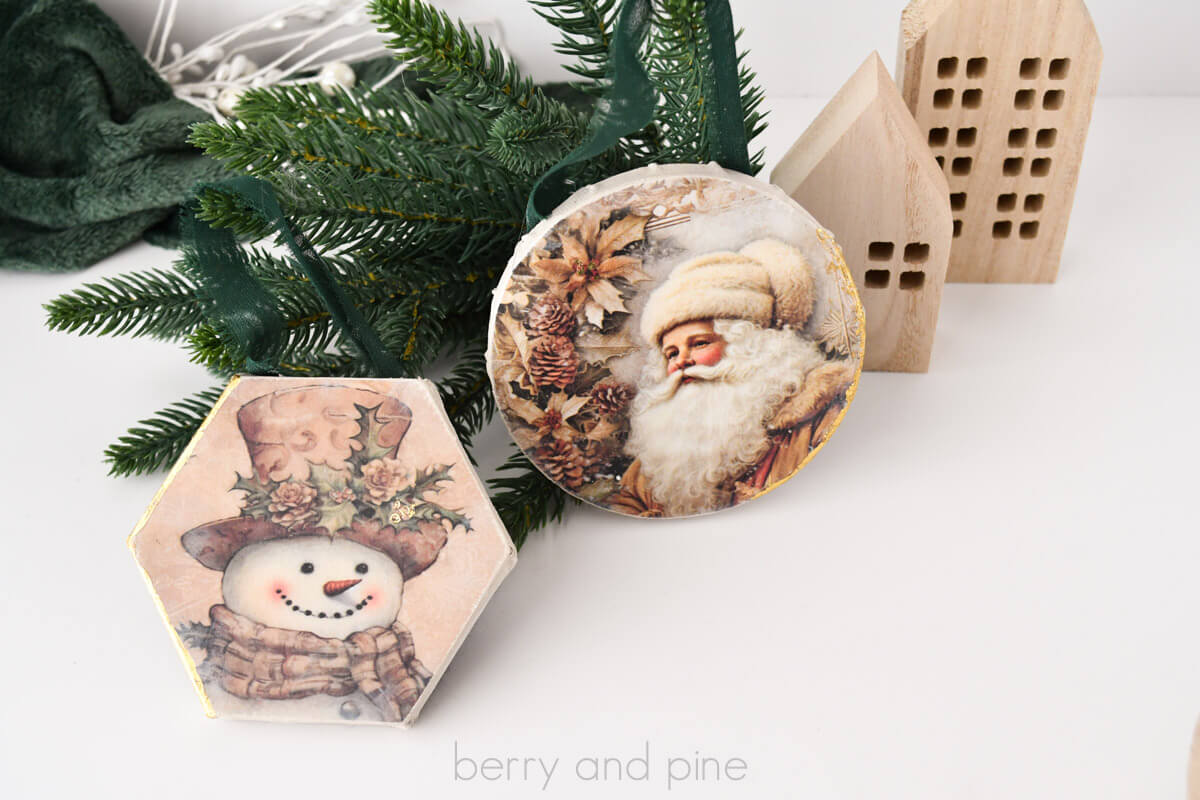
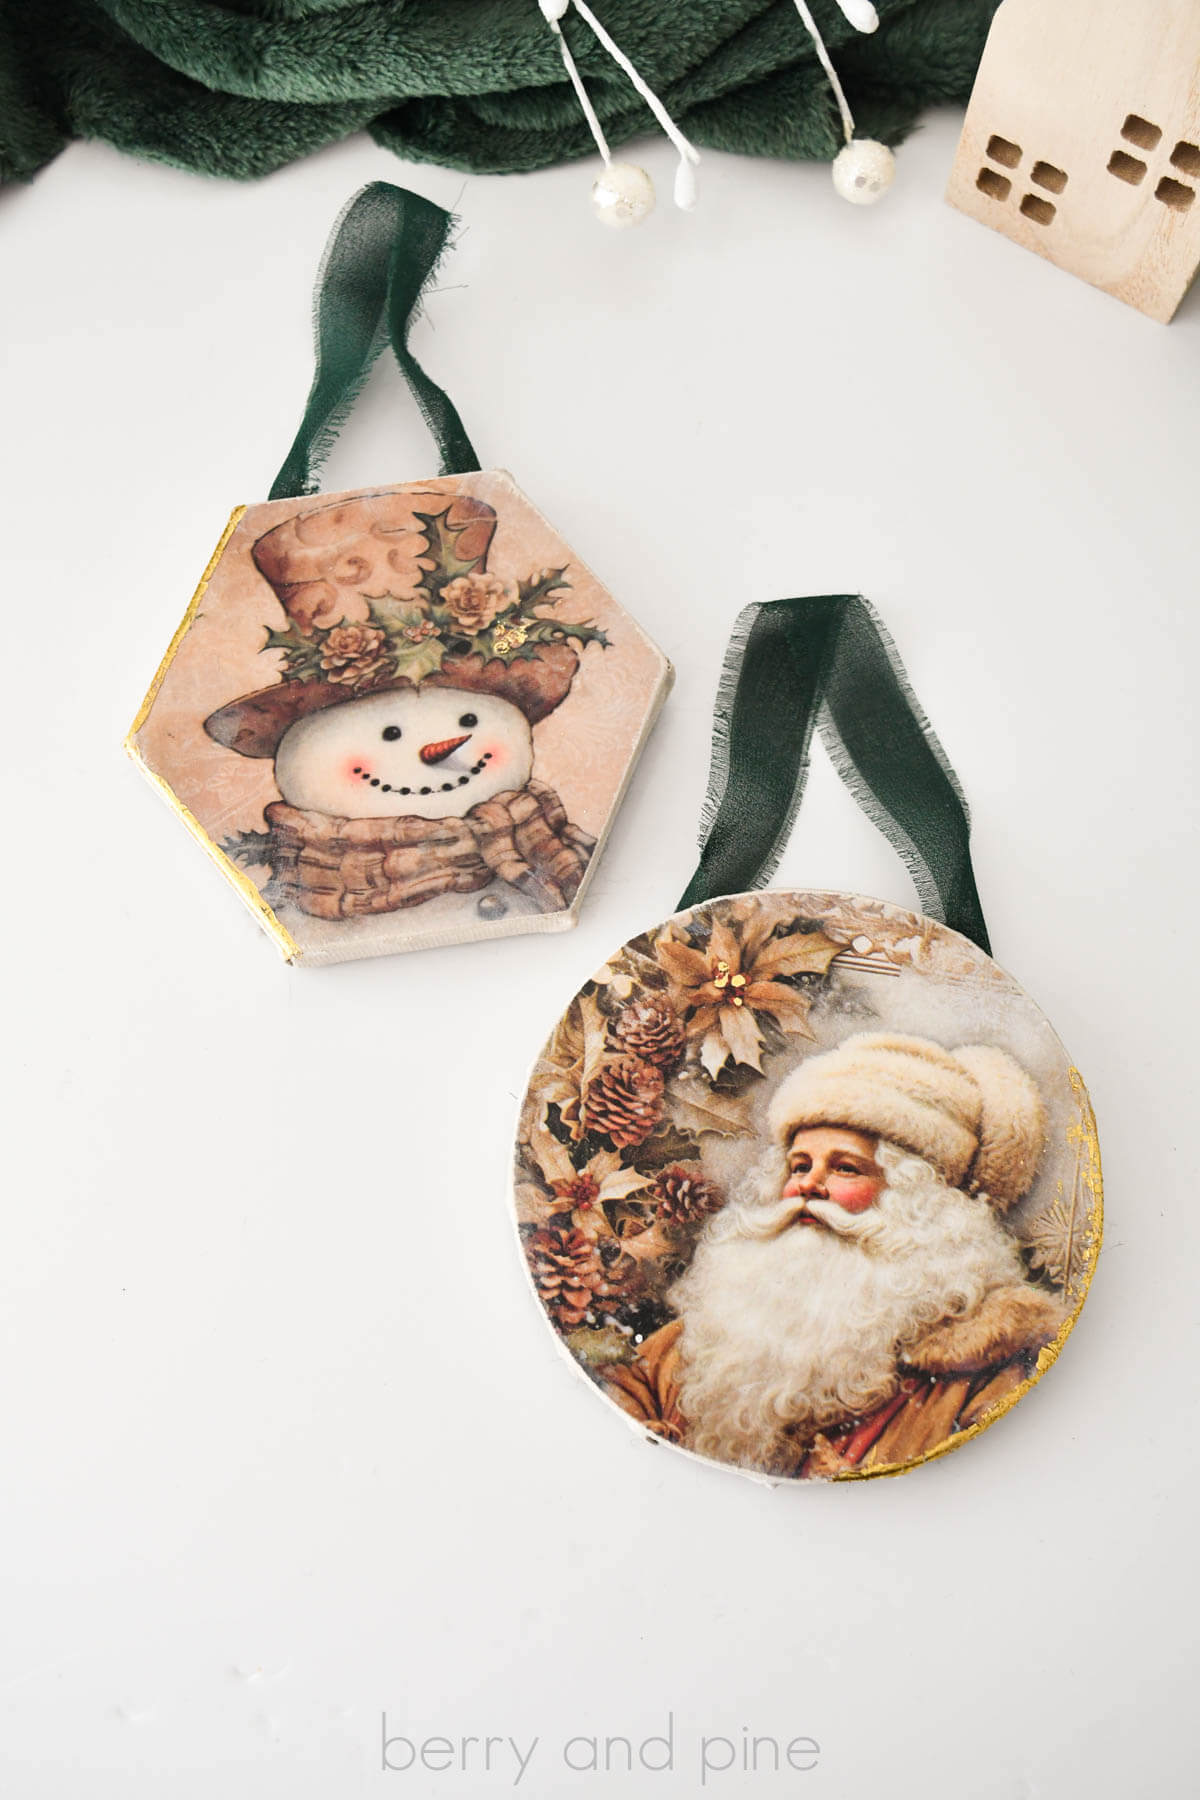
I will use the round and hexagon mini canvases from the dollar store to create some vintage Christmas ornaments with foiled edges and accents. And surprise: you don’t need special glue to do any of this!
If you like this project but can’t get started right now, please save this to a Christmas crafts pin board or share it to Facebook. Either way will make it easy to find when you’re ready to begin.
As an Amazon Associate, I could earn from qualifying purchases. There could be affiliate links within this article.
Materials Needed for This Craft
Below are the items I used, but check your stash before going to the store. Any water-based glue will work for this project for both the decoupage and the gold foil.
- Mini Canvases (Dollar Tree)
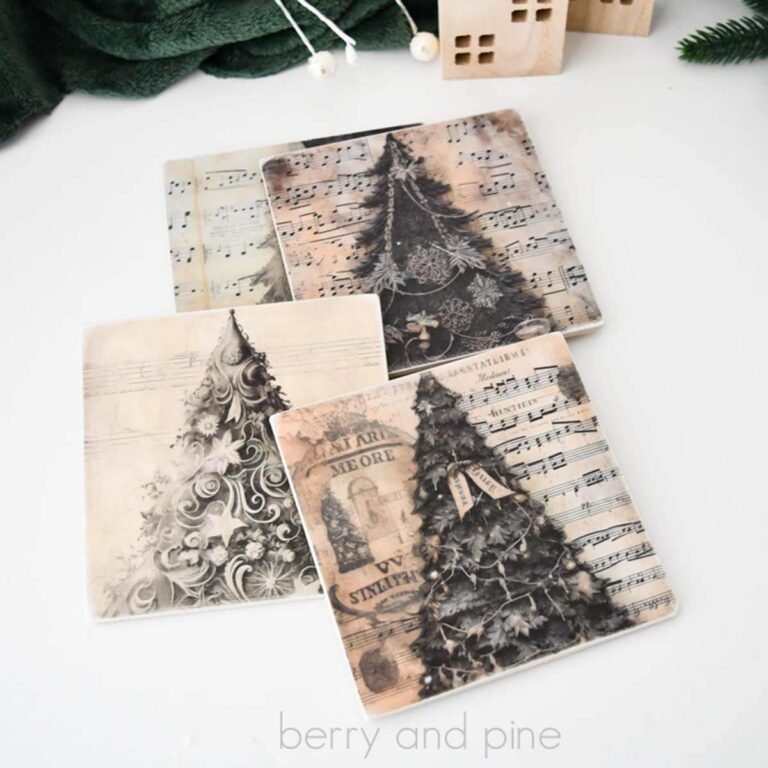
- Decoupage Images (paper, napkins, rice paper, copy-paper printed images)
- Gold Foil Sheets
- ModPodge and Foam Brush
- Optional, Paint and Brush (for edges and blending)
- Parchment Paper, Mini Press (or household iron), and Sanding Sponge
- Ribbon for Hanging (and a way to attach)
- Optional, Felt for Backing
Vintage Christmas Ornaments Video Tutorial
If you’re a visual learner like I am, you can watch this craft come together in the DIY vintage Christmas ornaments video tutorial on the YouTube channel. While you’re there, subscribe – it’s always a lot of fun!

How to Make Mini Canvas Christmas Ornaments
Below are the step by step instructions for these decoupage canvas ornaments. Leave this page open, follow along, or scroll down to print the instructions off for a craft night.
First, select images and ensure proper sizing. If you want to use smaller images, plan on foiling the edges completely.
Paint the edges of the canvas to tone down the bright, white outside. Let dry (or dry with a heat gun).
TIP: Raise up the inside of the canvas with paper towels, a cap lid, or anything to stabilize the canvas centers.
Apply ModPodge generously to the canvases and let dry completely.
Place the image on the canvas and cover with parchment. Move the press or iron over the canvas and the edges for between 20-25 seconds. Allow to cool.
TIP: Check for bubbles after the item cools completely. If any bubbles are discovered, pierce the paper, and add ModPodge (on a toothpick into the hole). Let dry and press again.
Sand off the edges using the sanding sponge and clean off all dust. Optional: add coordinating paint along the edges prior to the gilding to ensure that the bright white canvas doesn’t show through.

Next, apply ModPodge using a very small paint brush. Work in small sections. Note that if you take your time, you can create straight lines, but you don’t have to – a little wonky gilding looks aged. 😉
TIP: When foiling, cutting the pieces into strips while left within the paper wrapper works so well for the edges.
Gently place the foil on the ModPodge using the paper backing. For small pieces like berry accents, use tweezers to pick up and place the foil. Let the glue dry for at least 5 minutes before moving on.
Attach ribbon to the back of the canvases. I used a staple gun but you could likely use hot glue, as well. Trace the ornament with chalk onto felt (optional) and add felt with hot glue to cover the back.
More Dollar Tree Christmas Craft Ideas You Might Like
- Dollar Tree Wood Stain Door Signs – Turn a couple of thin wood cutouts into an elegant holiday door display.
- Dollar Tree Gingerbread House – This is one of the most fun crafts I’ve made for my gingerbread-themed kitchen this holiday season; you’ll love how easy it is!
- Dollar Tree Gingerbread Candy Dish – Whether you fill it with candy, money, or just use it as a display, this is a quick and adorable Christmas craft.
Please Save or Share This Dollar Tree Decoupage Idea
Your shares are how this site grows and I am sincerely grateful. Please save this to a easy Christmas project ideas pin board or share it with a crafty group on Facebook.

Decoupage Canvas Ornaments

Use Dollar Tree staples to create beautiful vintage Christmas ornaments. You will need two mini canvas shapes, a water-based glue, and some gold foil for gilding.
Materials
- Mini Canvas Shapes (I used a circle and a hexagon) from Dollar Tree
- Gold Foil Sheets
- Decoupage Images
- ModPodge
- Paint
- Parchment Paper
- Ribbon (for hanging)
- Optional, Felt (for backing)
Tools
- Foam Brush
- Paint Brush
- Mini Press
- Scissors
- Optional, Staple Gun and Staples
Instructions
- First, select images and ensure proper sizing. Use scissors to trim, if needed.
- Paint the edges of the canvas. Let dry (or dry with a heat gun).
- Apply ModPodge generously to the canvases and let dry completely.
- Place the image on the canvas and cover with parchment. Move the press or iron over the canvas and the edges for between 20-25 seconds. Allow to cool.
- Sand off the edges using the sanding sponge and clean off all dust. Optional: add coordinating paint along the edges prior to the gilding to ensure that the bright white canvas doesn't show through.
- Next, apply ModPodge using a very small paint brush. Work in small sections. Note that if you take your time, you can create straight lines, but you don't have to.
- Gently place the foil on the ModPodge using the paper backing. For small pieces like berry accents, use tweezers to pick up and place the foil. Let the glue dry for at least 5 minutes before moving on.
- Attach ribbon to the back of the canvases. I used a staple gun but you could likely use hot glue, as well. Trace the ornament with chalk onto felt (optional) and add felt with hot glue to cover the back.
Notes
Raise up the inside of the canvas with paper towels, a cap lid, or anything to stabilize the canvas centers.
If any bubbles are discovered after pressing, pierce the paper, and add ModPodge (on a toothpick into the hole). Let dry and press again.
When foiling, cutting the pieces into strips while left within the paper wrapper works so well for the edges.