Felt Bow Napkin Ring with Free Template
If you like easy crafts, this felt bow napkin ring is going to be the perfect afternoon craft. It’s easy to whip up many in no time at all and makes a for a beautiful holiday table.

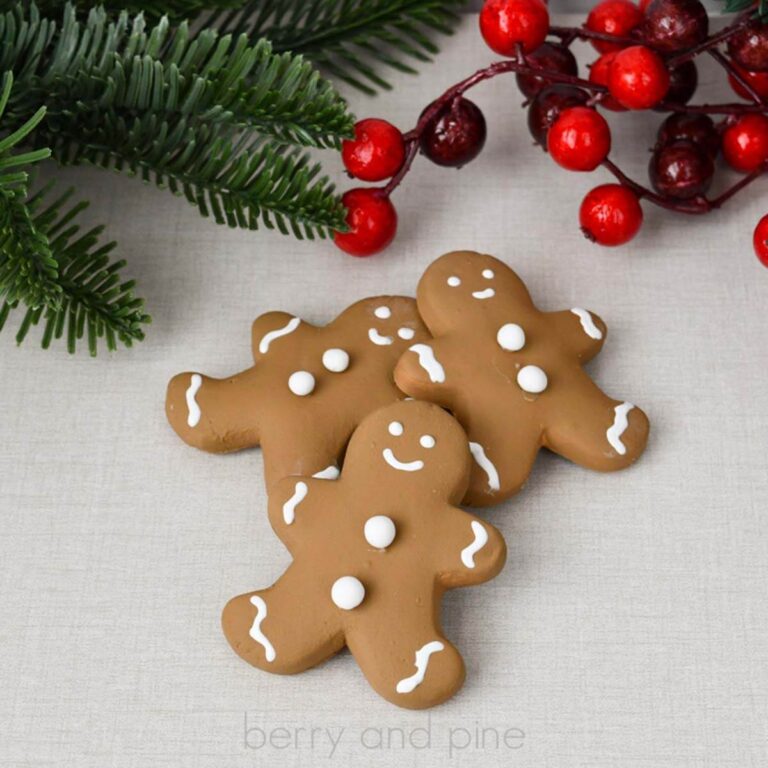
RELATED READING: DIY Gingerbread Candy Jar (Dollar Tree DIY)
Coquette Bow Napkin Ring DIY
Here at Berry and Pine, I’ve discovered a huge bin of felt after the move. And this discovery screamed, “make something Christmas-y!” So, I did.
This easy felt Christmas craft is done in just minutes and comes with a free printable template. And the best part is that this free bow template is great to use for:
- hair bows
- package ties
- Christmas ornament / accessories
- decor pieces
- holding my wrapping paper (haha)

If you love this felt Christmas craft idea but can’t get started right away, save it to a holiday crafts pin board or share it on Facebook. Either way will make this easy to find when you’re ready to begin.
As an Amazon Associate, I could earn from qualifying purchases. There could be affiliate links within this article.
Materials Needed for This Holiday Bow Craft
I used a premium felt for this – don’t worry, it’s at the craft store but is also sold online. If you find the flimsy, thin sheets, look around: it’s likely nearby.
- Felt
- Scissors
- Printer and Paper
- Hot Glue Gun and Glue Sticks
3D Tree Napkin Holder Video Tutorial
If you’re a visual learner, watch the very quick felt napkin holder crafts video tutorial. While you’re there, be sure to subscribe to the new channel.

How to Make a Bow Napkin Holder with Felt
First, download, print, and cut out the free felt napkin holder template. It will have this craft and two others you can create with simple felt.
Cut all of the pieces from the felt, using pins or clips to secure. Be sure to note that some pieces require to be cut on the fold, as shown in the video above.

Take bow piece #1 (each piece on the template is labeled) and join the short ends with hot glue, folding over about 1/4 of an inch. Let dry completely.

Squish the center of the bow piece #1 together, pleating the center. Use bow piece #3 to wrap around and secure it with glue. Hold the piece together until it sets completely.

NOTE: bow piece #3 is longer than you need so that you can avoid hot gluing your fingers to the bow.
To create the bow’s tails, fold over bow piece #2 so that it forms a triangle at the cross; press to crease. Hot glue the triangle portion where the two layers cross and hold until set.

Glue the back of the pleated bow to the top of the joined tails. Flip over the piece and glue bow piece #4 to the back. Fold over the ends to secure and slip onto a cloth napkin.

More Crafts You Might Like
- Faux Fur Wreath – This 5 minute craft is SO easy and you can actually use all of the pieces again!
- Frosted Snowy Jar DIY – Any glass jar can become a wintery decor piece, candle holder, or planter.
- Dollar Tree Gingerbread House Craft – The perfect color of paint for a gingerbread exists and when it’s applied to a doll house, it’s beautiful!
Your shares are how this site grows and I am sincerely grateful. Please save or share this Christmas craft idea to a DIY felt projects pin board or share it with a crafty group on Facebook.

DIY Coquette Bow and Free Template

This adorable bow napkin ring has the perfect coquette bow shape, ideal for a holiday table. The premium felt elevates this easy Christmas craft idea.
Materials
Tools
- scissors
- hot glue gun and glue sticks
- sewing pins or clips, optional
- printer and paper
Instructions
- First, download, print, and cut out the free felt napkin holder template. It will have this craft and two others you can create with simple felt.
- Cut all of the pieces from the felt, using pins or clips to secure. Be sure to note that some pieces require to be cut on the fold, as shown in the video above.
- Take bow piece #1 (each piece on the template is labeled) and join the short ends with hot glue, folding over about 1/4 of an inch. Let dry completely.
- Squish the center of the bow piece #1 together, pleating the center. Use bow piece #3 to wrap around and secure it with glue. Hold the piece together until it sets completely.
- NOTE: bow piece #3 is longer than you need so that you can avoid hot gluing your fingers to the bow.
- To create the bow's tails, fold over bow piece #2 so that it forms a triangle at the cross; press to crease. Hot glue the triangle portion where the two layers cross and hold until set.
- Glue the back of the pleated bow to the top of the joined tails. Flip over the piece and glue bow piece #4 to the back. Fold over the ends to secure and slip onto a cloth napkin.