DIY Ornament Shelf Sitter
I love clearance finds and this DIY ornament shelf sitter craft for the holiday season fits the bill – it was only a couple of dollars to make! Keep your eyes out for useful basics like these and get inspired.

RELATED READING: DIY Stained Wood Snowman – Plain Cutout to WOW Worthy Decor
Ice Skates Ornament Decor
Here at Berry and Pine, I’ve been working on using some of my fun clearance finds this holiday crafting season. And honestly, ideas like these are too good not to share!
I am bringing together a pre-made wood sign with an ornament and some scrabble tiles to put together a piece you can sell! A little faux fur trim elevates this simple piece and adds a high-end material on a shoestring budget.
Can’t get started right now? Save this to a holiday DIY pin board or share this fun idea with a crafty group on Facebook.

As an Amazon Associate, I could earn from qualifying purchases. There could be affiliate links within this article.
Shelf Sitter DIY Video Tutorial
If you like to watch along with another crafter, join me over on YouTube for the Easy Faux Fur Craft Ideas for Christmas video tutorial. You’ll get this craft and inspiration for two others.
While you’re there, subscribe to the channel. We have a lot of fun!

RELATED READING: Dollar Tree Gingerbread House – It’s Easy and SO Cute
Materials You’ll Need for This Easy Project
Below are the materials I used for my shelf sitter. As always, check your stash and, of course, the clearance section all year round.
- wood sign or wood block
- a fun ornament (I’m using flat ice skates)
- Scrabble tiles
- 1.5 inch faux fur ribbon
- rope ribbon
- scissors and hot glue gun
How to Make This Christmas Project
Below are the written instructions, so keep this page open and follow along. For a printable version, scroll to the bottom of this article.
First, layout the pieces to get an idea of what will work in what position. For me, that was removing the twine in the ice skates ornament so that I could stack them.
Next, glue the ornament to the wood. If selling, use hot glue and an additional adhesive like E6000 to secure it well.
Position any decorations – in my case, the rope ribbon – and affix with glue before layering the next item on top.
Tip: To cut rope style ribbon, add a piece of clear tape all around where you’d like to cut. Cut down the center to avoid the ribbon from fraying.
Secure anything layered on top. I added a letter “Q” tile to support the upper skate.
Glue on any word in the Scrabble tiles and the project is done and ready for display.
More Crafts You Might Like
- Snow Globe DIY – Using everyone’s favorite glass jar, let’s make a whimsical snow globe together.
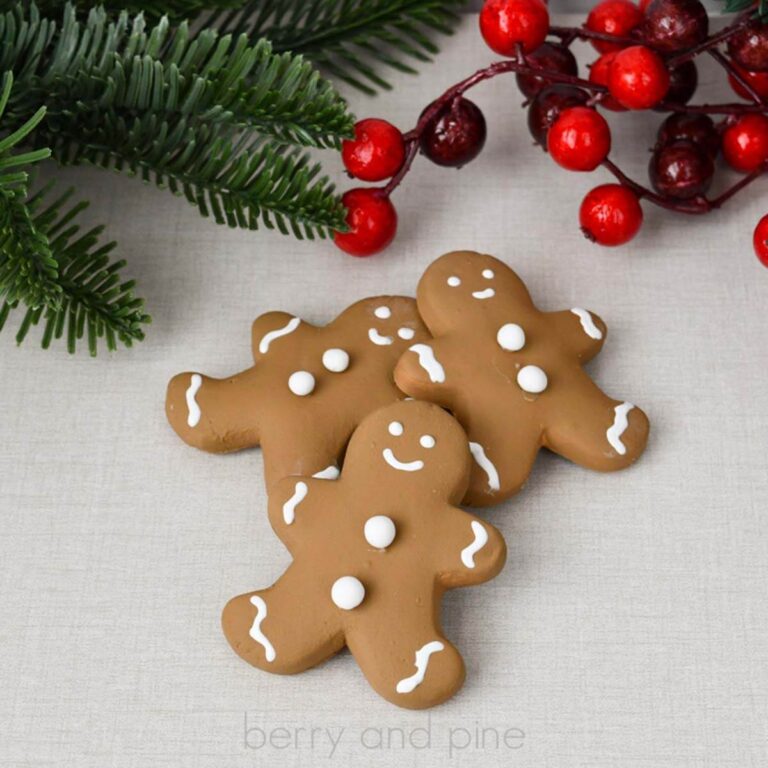
- Easy Faux Gingerbread Cookies – The perfect color for gingerbread? Yes. The best, soft texture? You bet!
- Dollar Tree Decoupage Ornaments – Don’t skip the mini canvas shapes at the DT and make these gilded, vintage ornaments (they’re gorgeous).
Please Save or Share This Easy Winter Craft Idea
Your shares are how this site grows and I am sincerely grateful. Please save this frugal Christmas decor idea to a holiday pin board or share it with a crafty group on Facebook.

Ornament Shelf Sitter

Create this wintery shelf sitter and holiday decor piece using a wood block and a pre-made ornament. They're very, very quick to make and everything can be found in the clearance section (or your craft stash).
Materials
- Wood Sign or Block
- Ornament
- Thin Rope Ribbon
- Scrabble Tiles
Tools
- Scissors
- Hot Glue Gun and Glue Sticks
Instructions
- First, layout the pieces to get an idea of what will work in what position. For me, that was removing the twine in the ice skates ornament so that I could stack them.
- Next, glue the ornament to the wood. If selling, use hot glue and an additional adhesive like E6000 to secure it well.
- Position any decorations - in my case, the rope ribbon - and affix with glue before layering the next item on top.
- Secure anything layered on top. I added a letter "Q" tile to support the upper skate.
- Glue on any word in the Scrabble tiles and the project is done and ready for display.
Notes
To cut rope style ribbon, add a piece of clear tape all around where you'd like to cut. Cut down the center to avoid the ribbon from fraying.